When to Photograph the Northern Lights in Copper Harbor: Moon Phases, Equinoxes & Local Wisdom

Snow-covered rocks and silhouetted pine trees on the shore of Lake Superior illuminated by vibrant green, red, and purple northern lights.

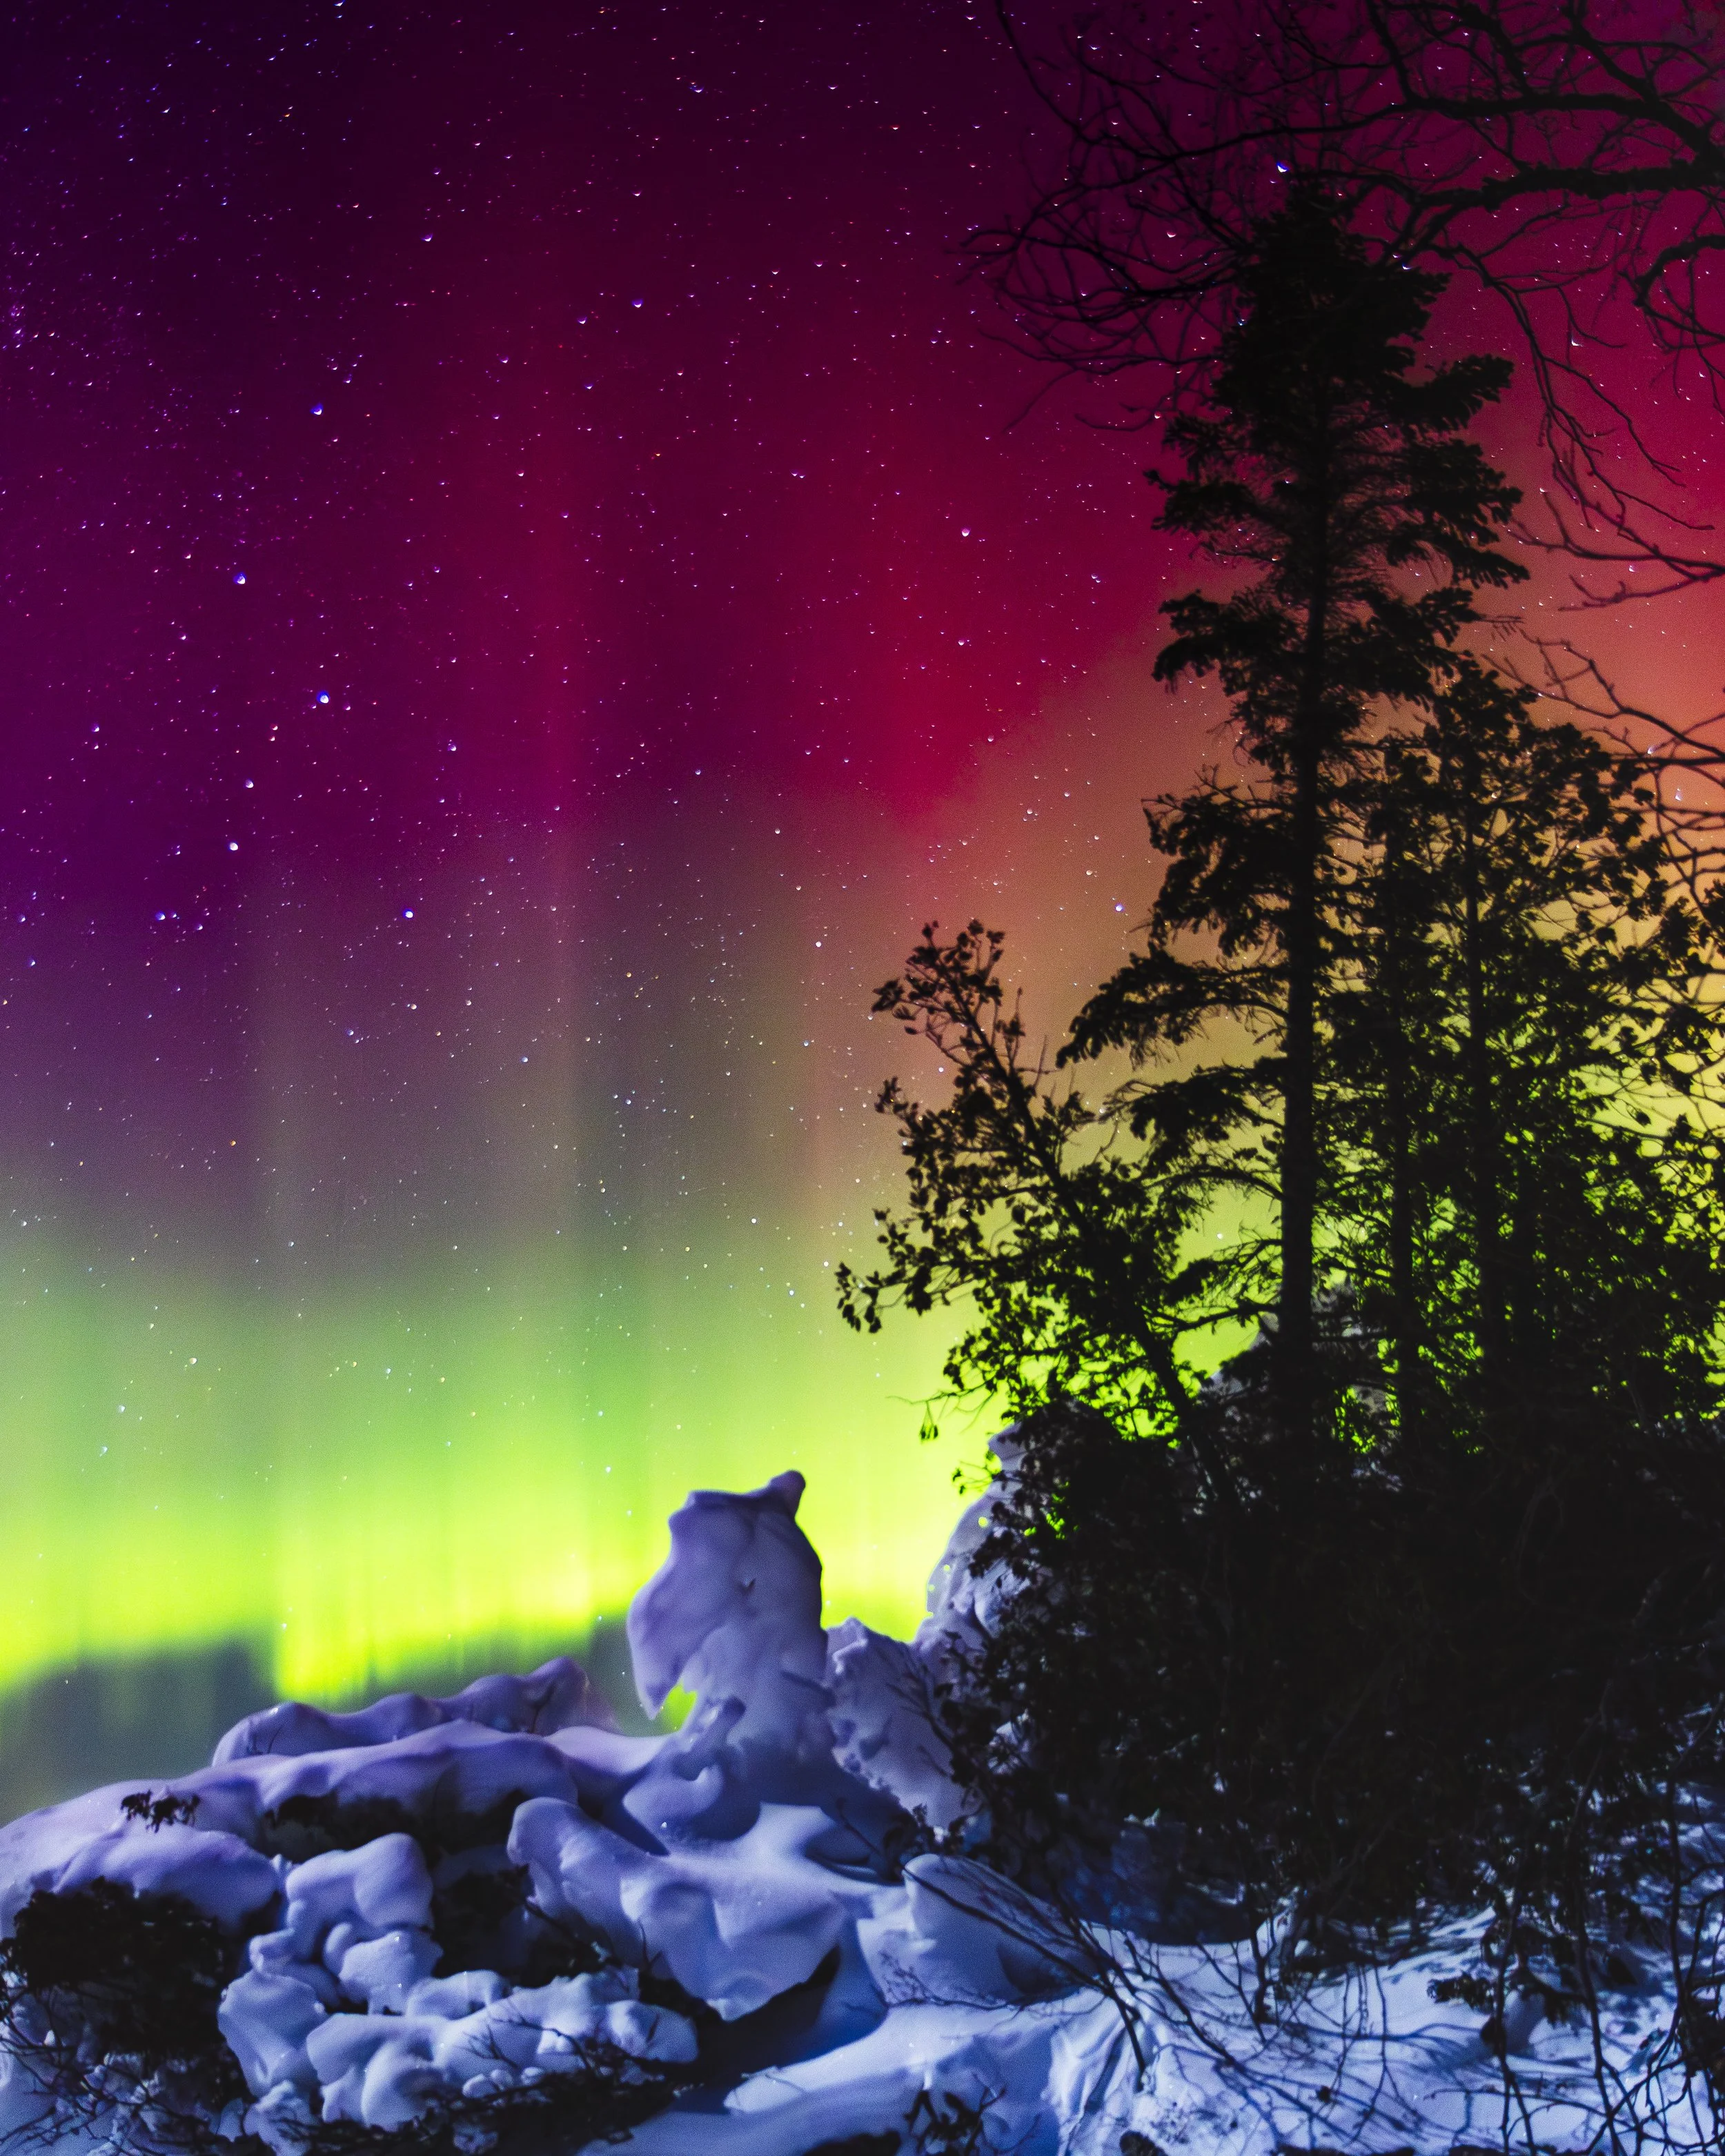
Even in the deep freeze, the sky finds a way to burn bright.

If you’ve ever stood on a Keweenaw shoreline while the sky begins to ripple green and purplish-pink above Lake Superior, you know: it’s not something you’ll forget.

Whether you’re planning your first visit to the Upper Peninsula or returning with hopes of seeing the aurora again, timing matters. This guide will help you understand when and why the Northern Lights are most visible in the Keweenaw—and how to stack the odds in your favor using local insights, natural patterns, and practical tools.

Why the Keweenaw Is an Aurora Hotspot

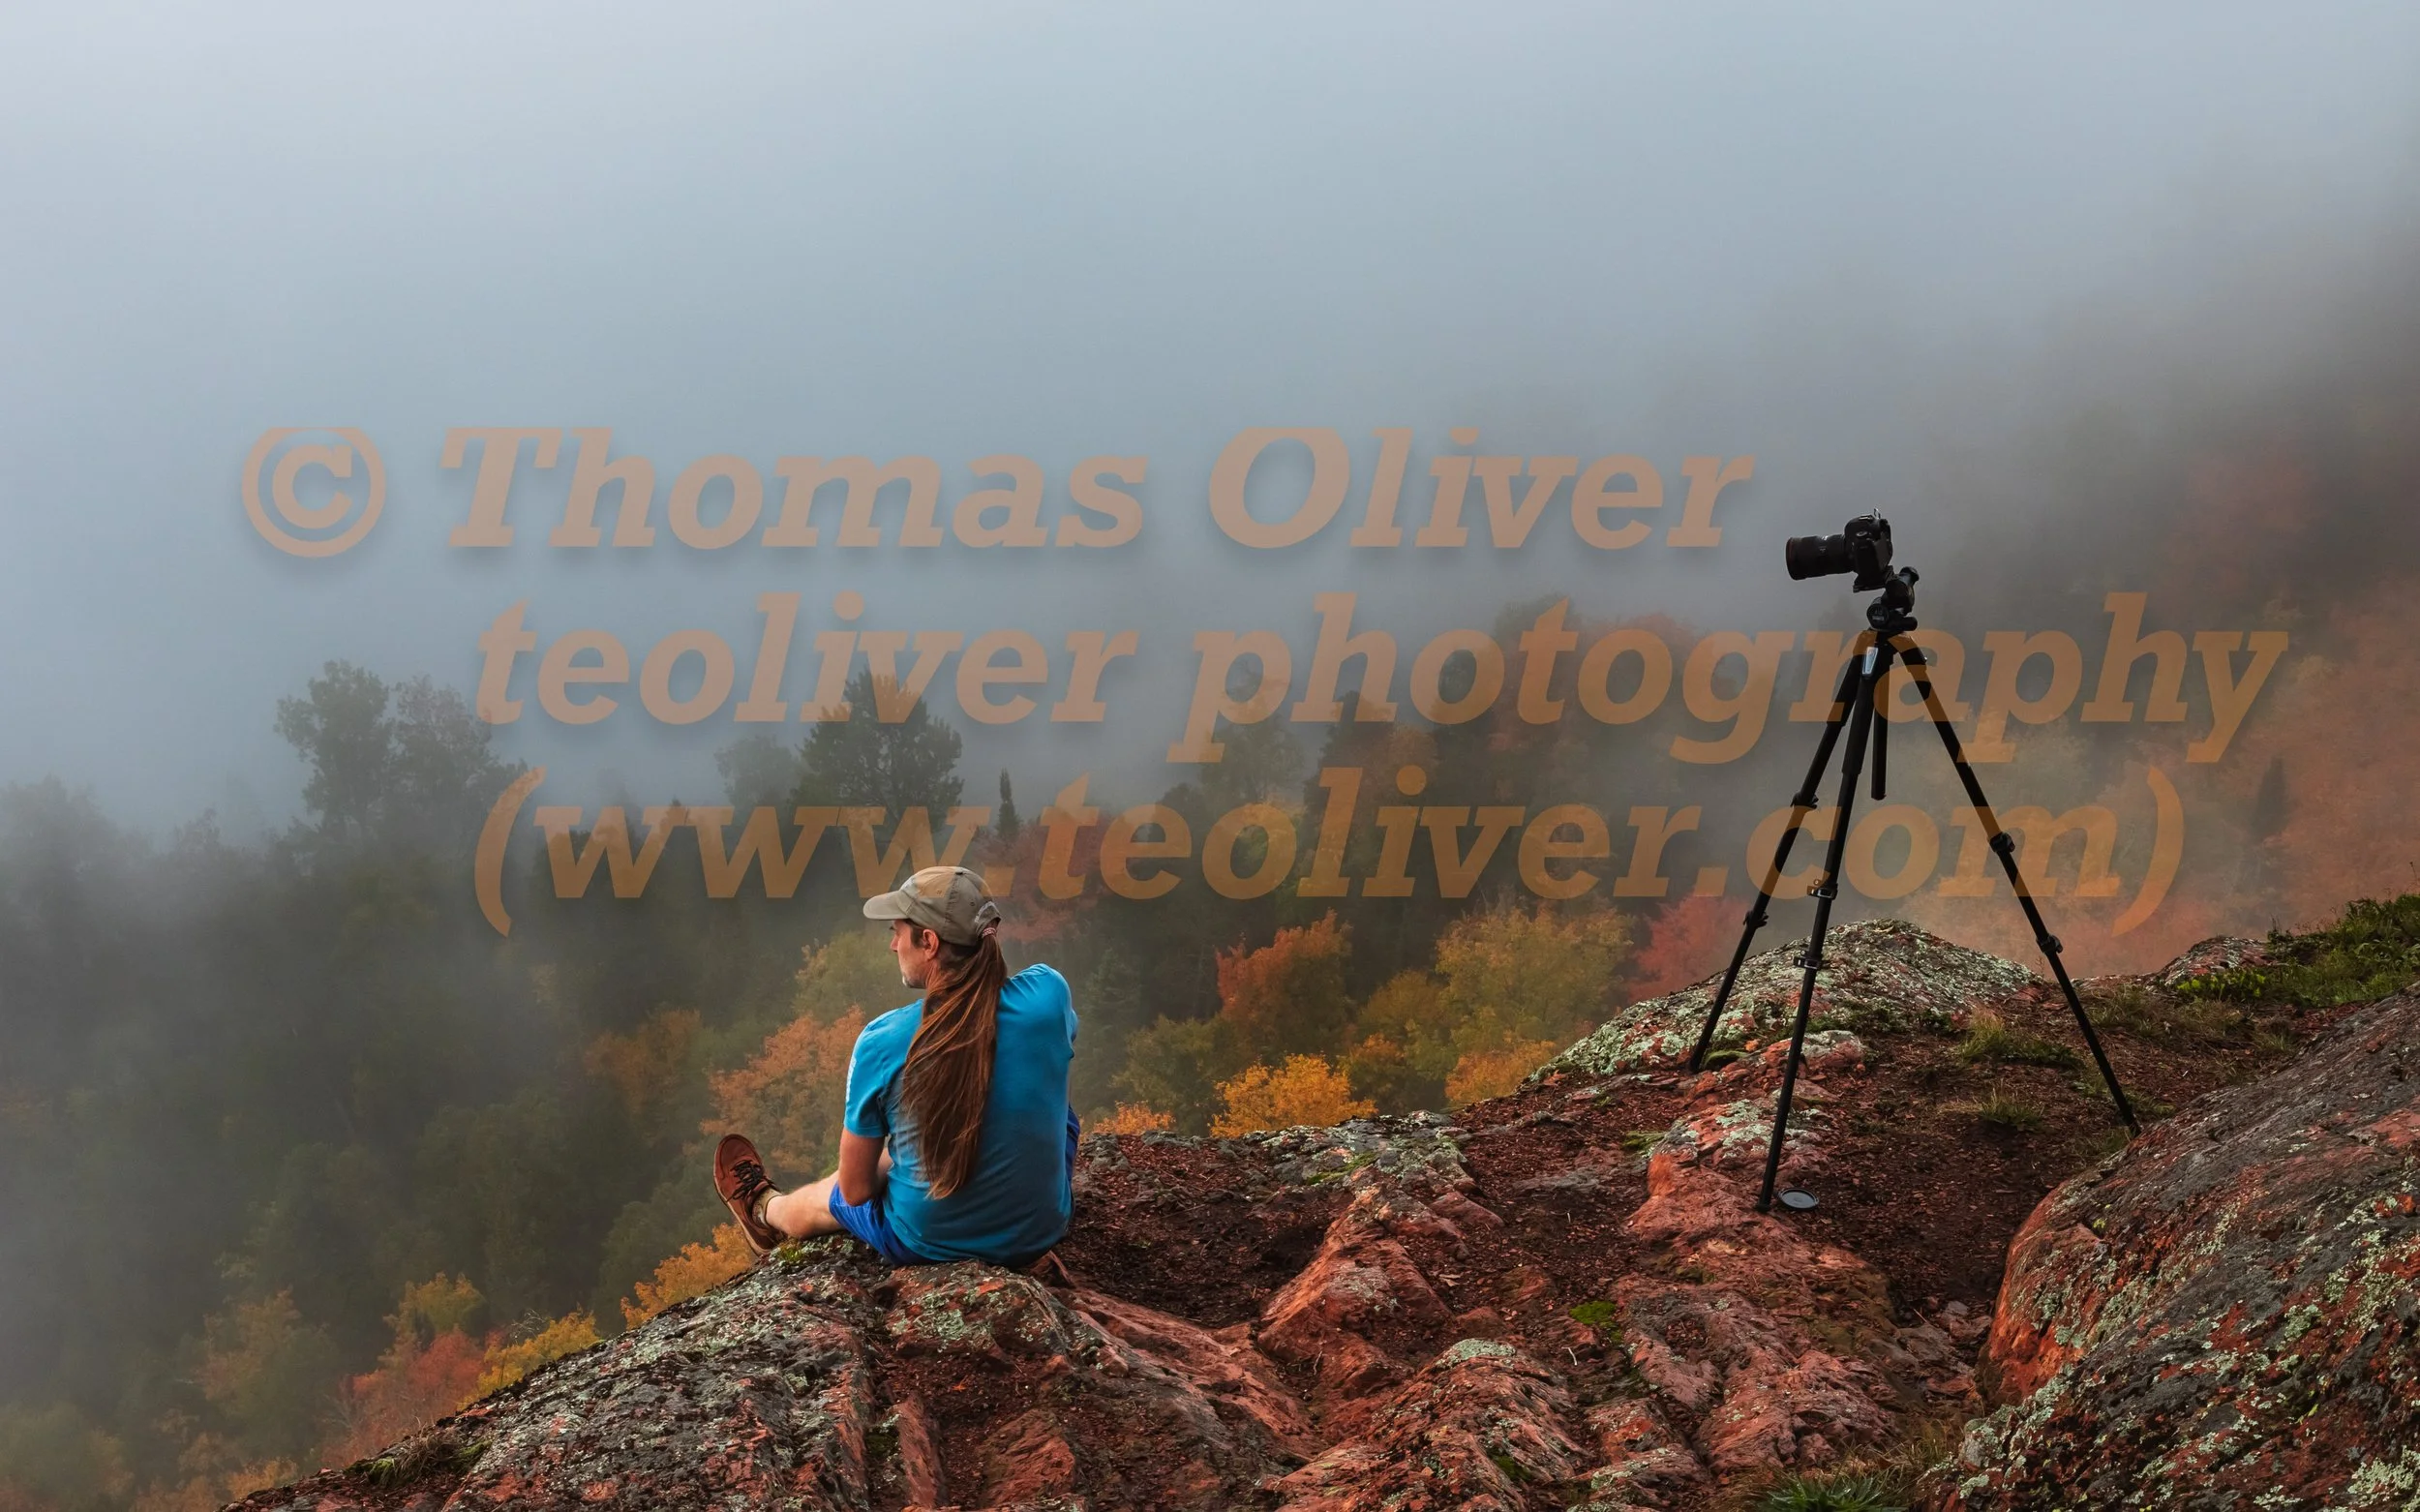
The Keweenaw Peninsula extends far into Lake Superior, giving it a unique combination of northern latitude and exceptionally dark skies. Locations like Copper Harbor, Calumet Waterworks, and Brockway Mountain Drive offer broad northern views, minimal light pollution, and a rugged beauty that makes every sighting feel like a gift.


Moon Phases: The Subtle Factor That Changes Everything

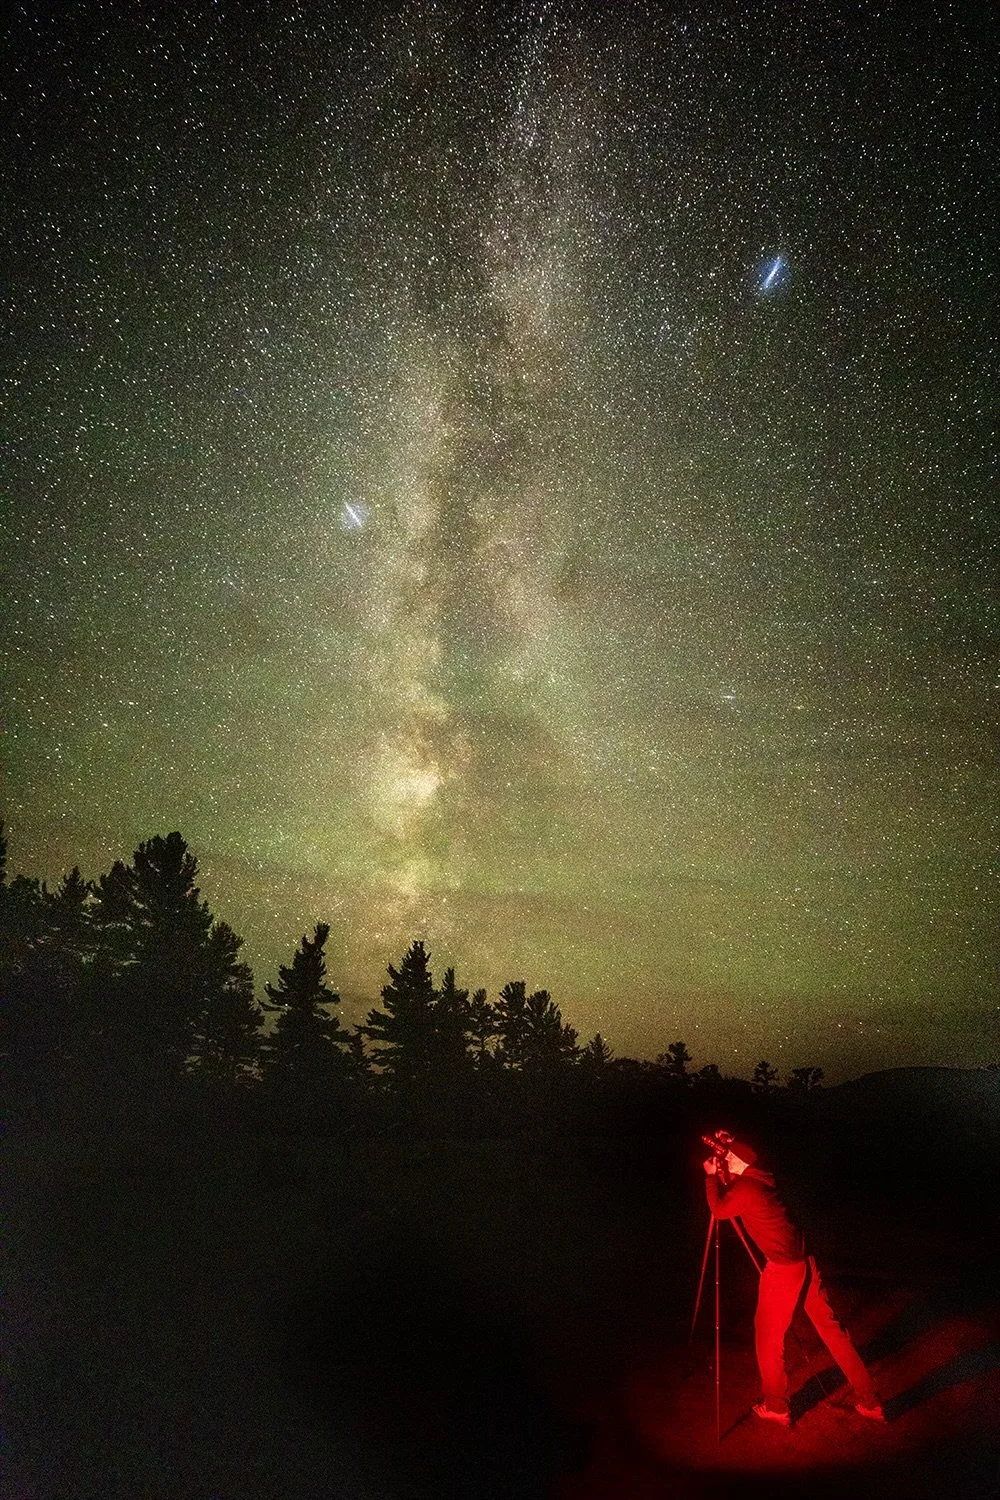
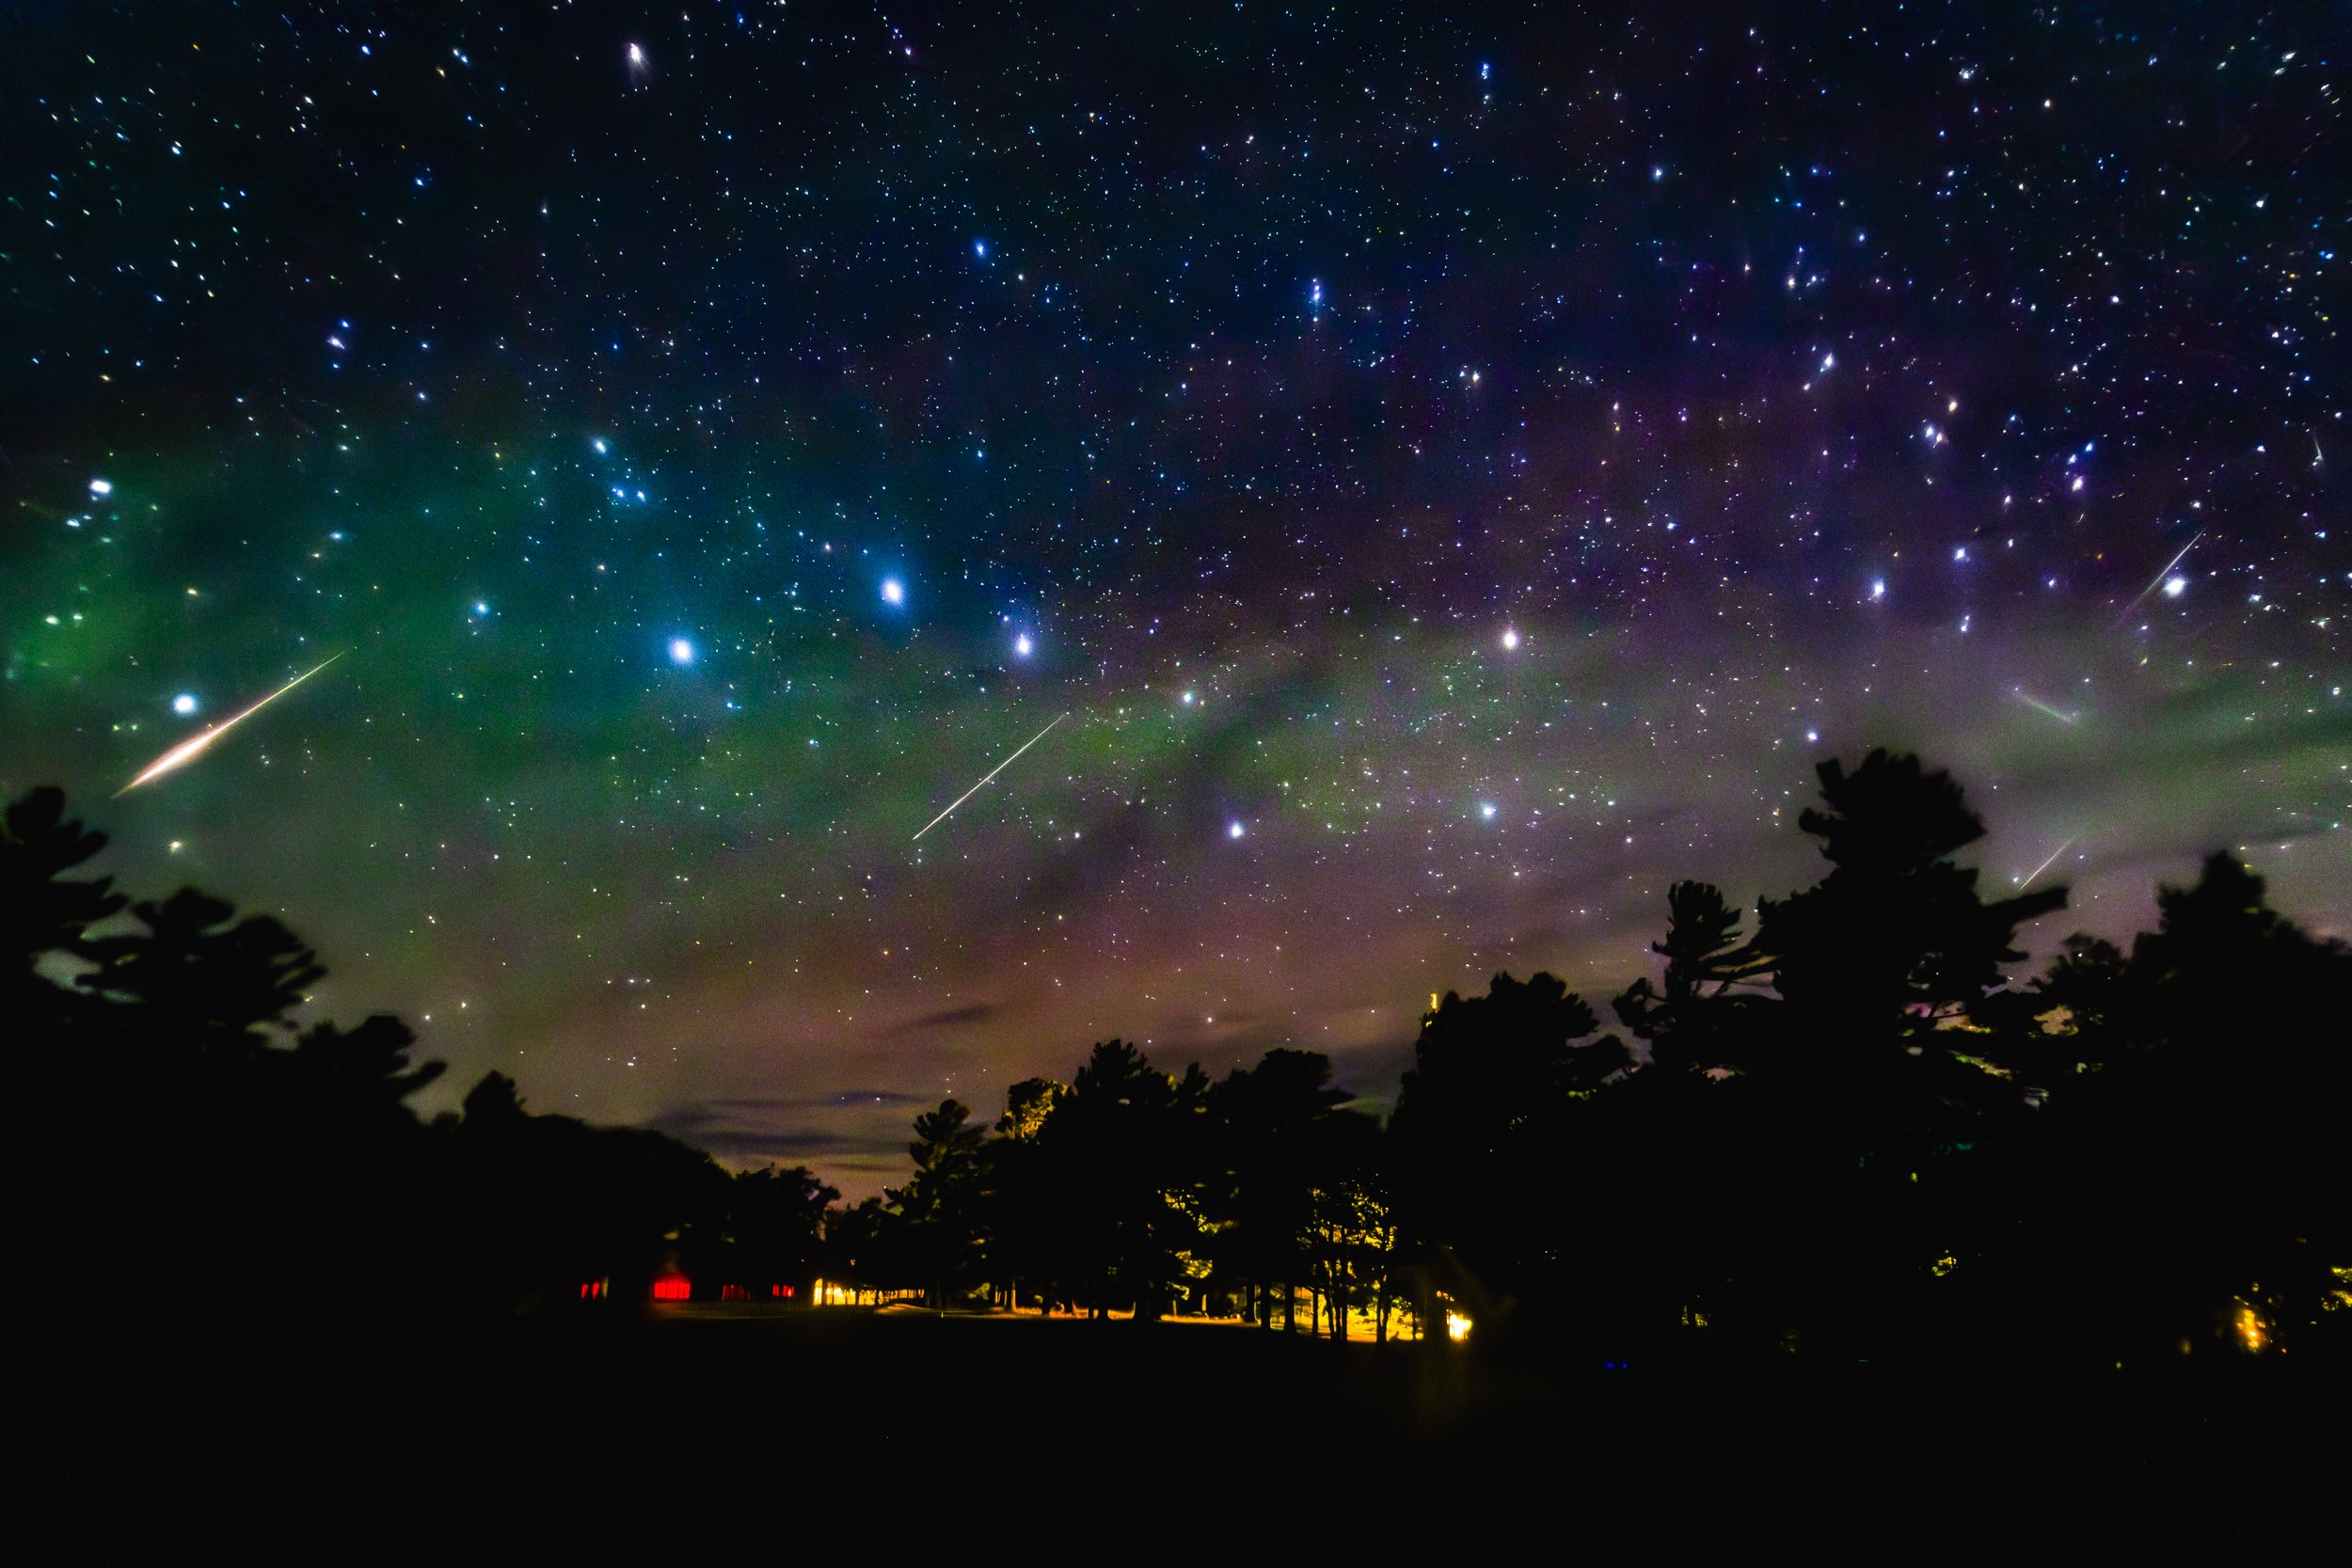
The best aurora displays often happen near the new moon. A dark sky makes the colors of the aurora more vivid and helps the Milky Way emerge behind it.

  • New Moon = Ideal for visibility

  • Full Moon = Can wash out faint auroras, but adds light to your landscape

  • Best Window = Four days before or after a new moon

Pro Tip: Mid-October sometimes brings the rare combination of early snowfall and lingering fall color—a magical pairing, which might not be too visible under the aurora but lets you have stunning unique landscapes during the day and awe-filled skies at night.


Why the Equinoxes Bring Better Auroras

Did you know the spring and fall equinoxes are often the most aurora-active times of year?

That’s because Earth's tilt relative to the sun during these times makes it easier for solar wind to interact with our magnetic field—resulting in more frequent geomagnetic storms.

Watch for peak activity:

  • 📅 March 15–30

  • 🍂 September 15–October 5

Equinox + New Moon = Prime Time
Plan trips around these windows for your best chance of success.


Aurora Forecast apps let you know when activity is peaking—even before it’s visible to the eye.

Tracking Solar Activity Without Becoming a Scientist

You don’t need to be an astronomer or physicist to monitor the aurora forecast. I recommend:


Weather Matters (Especially Around Lake Superior)

A silhouetted person raises their arms in awe beneath a vivid green and purple aurora borealis over Lake Superior, with a tripod-mounted camera glowing beside them under a clearing night sky.

Even short clearing windows can reveal breathtaking skies—patience pays off.

The Keweenaw's weather is shaped by Lake Superior. Clouds can appear and disappear quickly, especially in fall.

The best skies often follow:

  • Cold fronts

  • Lake effect storms

  • High-pressure clearing

Tools I use to check weather:

Some of my best aurora photos were taken in brief 10-minute clearings just after a snow squall passed.


Quick Planning Chart

Factor Condition
Season September–April (peaks in March, October)
Moon Phase New moon ± 4 days
Kp Index 5 or higher
Cloud Cover 0-30%, ideally breaking post-front
Time 9 PM - 2 AM (often peaks between 11PM and midnight)

Local Insight: What I Tell My Clients

“Plan for a cold night, pack your layers, bring a thermos—and prepare to stand in awe. The aurora is never guaranteed, but the experience of chasing it is always worth it.”


Ready to Experience the Keweenaw Night Sky?

If you’d like to increase your chances of seeing the Northern Lights—and come away with great photos—I offer guided night photography excursions tailored to the season, forecast, and your goals.

👉 Book your experience

🔁 Links

Picaridin vs. DEET: The Best Bug Repellent for Night Sky and Wildlife Photography

You’ve found the perfect composition. The aurora is dancing. Your camera is set. And then—mosquitoes. The temptation to reach for the strongest bug spray in your pack is real. But before you mist your hands with DEET and grab your camera, here’s what every night sky or wildlife photographer should know.

Why Bug Repellent Choice Matters for Outdoor Photography

Whether you're capturing the Milky Way from Brockway Mountain or crouched in a swamp at Sturgeon River Sloughs photographing Sandhill Cranes, bug protection is essential. But not all repellents play nice with optics. Some formulas can degrade rubberized coatings, cloud plastic lenses, or leave stubborn residues on binoculars, camera bodies, and tripod grips.

That’s where picaridin comes in.

What’s the Difference Between Picaridin and DEET?

Feature DEET Picaridin
Effectiveness ✅ Excellent ✅ Excellent
Gear Safe? ❌ Can damage plastics, rubber, and coatings ✅ Safe for gear and optics
Odor ❌ Strong, chemically ✅ Mild or odorless (sometimes peppery)
Skin Feel ❌ Oily, sticky ✅ Non-greasy, light
Duration ✅ Up to 10 hours ✅ Up to 12 hours
Best For High-tick, deep-woods exposure (with caution) General use for ticks, mosquitos, and flies around optics

The Bottom Line:

Picaridin is equally effective at repelling mosquitoes, ticks, biting flies, and no-see-ums—without the risk of damaging your camera, lens coatings, binoculars, or field notebooks.

Why DEET Can Damage Photography Equipment

DEET (N,N-Diethyl-meta-toluamide) functions well because it’s chemical characteristics allow it to spread across the skin and confuse the sensory perception of biting insects. However, those same chemical properties allow it to function as a solvent, as well. That’s great for repelling bugs—but bad for handling plastics and rubber. In fact, many optics brands (including Canon, Nikon, Vortex, and Swarovski) warn against DEET exposure in their manuals.

Potential issues include:

  • Discoloration or fogging of lens barrels and eyecups

  • Breakdown of rubber grips and focus rings

  • Etching of LCD screen coatings or anti-reflective surfaces

  • Smudging of camera bodies, buttons, or backpack straps

If you’ve ever wondered why your camera feels sticky after a summer shoot, DEET might be the culprit.

What Is Picaridin, and How Does It Work?

Picaridin (also known as icaridin or by its chemical name hydroxyethyl isobutyl piperidine carboxylate) is a synthetic compound modeled after a molecule found in black pepper plants. It was developed in the 1980s by Bayer and is widely used in Europe, Australia, and North America as a DEET alternative.

Similar to DEET, Picaridin works by blocking the insect’s ability to smell human scent, which prevents them from landing or biting in the first place. Here’s what makes Picaridin different:

  • Low skin absorption: It’s non-greasy, nearly odorless (however, it does make me sneeze if I inhale even a little of the spray), and gentle on sensitive skin, making it ideal for long outdoor sessions.

  • Safe for gear: Unlike DEET, picaridin does not degrade plastic, rubber, vinyl, or synthetic materials—which makes it ideal for use around camera equipment, binoculars, headlamps, and backpack straps.

  • EPA- and WHO-approved: Picaridin is considered safe and effective by the U.S. Environmental Protection Agency and the World Health Organization, with very low toxicity for humans and wildlife when used as directed.

📌 Note: While “natural” repellents like citronella or lemongrass might smell nice, they don’t offer the same reliable protection for fieldwork in the mosquito-heavy backwoods of the Keweenaw.

Best Picaridin-Based Bug Repellents for Photographers

These are widely available and trusted by outdoor pros:

  1. Ben's Tick Repellent Spray (20%)

    • Easy to apply

    • Gear Safe

  2. Sawyer Picaridin Insect Repellent Lotion (20%)

    • Long-lasting, non-greasy, scent-free

    • Great for applying to hands, neck, and wrists

  3. Ranger Ready Picaridin Spray (20%)

    • Gear-safe and available in a variety of scents (including unscented)

  4. Natrapel 12-Hour Spray (20% Picaridin)

    • Compact size perfect for camera bags or field kits

  5. OBSC (The Original Bug Shirt® Company)  

    • Great as a chemical-free backup when you're shooting in wetland or boreal habitats

Pro Tip: Always wash your hands after applying repellent—especially before touching camera lenses or filter glass.

Gear-Friendly Tips for Staying Bite-Free While You Shoot

In addition to switching to picaridin, follow these practices for optimal comfort and gear care:

Clothing and Physical Barriers

  • Wear lightweight, tightly woven long sleeves and pants

  • Use bug netting on your tripod or camp setup if staying in one location

  • Choose light-colored clothing to reduce attraction to biting insects (avoid blue clothes if deer or stable flies are a possibility)

Application Best Practices

  • Apply repellent away from gear and allow it to dry before handling equipment

  • Avoid applying bug spray directly to hands—use lotion or a cloth instead

  • Use a cloth or microfiber towel to handle your camera after application, especially during long exposures

Pack Smart

  • Store your repellent in a side pouch or sealed plastic bag away from lenses and electronics

  • Bring an alcohol-free lens wipe to remove smudges if contact happens

Where This Matters Most: Mosquito Season in the Keweenaw

From late May through September, mosquitoes and biting flies can be thick in:

  • Tamarack swamps near Eagle Harbor

  • Boreal forest edges at and within Estivant Pines

  • Wetland meadows near Bete Grise and the Montreal River

  • Campgrounds, parks, ridgelines, and inland lakes with slow drainage

  • Along Lake Superior’s shoreline

Since biting insects are nearly everywhere in the Keweenaw, while we chase stars and wildlife in these beautiful places, bug protection is non-negotiable. But ruining a $1,000 lens or camera body for the sake of a bug-free hike? That’s completely avoidable.

Final Thoughts: Picaridin for the Win

Switching to picaridin-based repellents means:

  • You still get protection from mosquitoes and ticks

  • Your optics and gear stay safe from chemical damage

  • You stay more comfortable and focused on your shot

  • Your camera’s resale value (and your sanity) stay intact

Ready to Capture the Outdoors—Without the Bites?

For more tips on gear-safe field prep and ethical wildlife photography, join one of my seasonal workshops in the Keweenaw.

📸 Book a Wildlife or Night Sky Photography Outing »

Internal Links

External Authority Sources

The Five “P”s of Keweenaw Photography: A Local's Guide to Capturing the North

The Keweenaw doesn’t pose for you. It invites you. And if you’re lucky enough to show up prepared, it offers images that feel earned—not just captured.

As a wildlife and night sky photographer who calls this place home, I’ve spent years learning how to work with the Keweenaw, not against it. It’s not always easy here—weather rolls in fast, light disappears quicker than you expect, and cell service disappears entirely. But when everything aligns? It’s magic.

That’s why I rely on what I call the Five Ps of Keweenaw Photography—a simple, field-tested mindset that helps photographers of all levels create more intentional, meaningful images in this rugged and rewarding landscape.


1. Place: Know It Deeply

At the mouth of the Gratiot River, two figures pause on the edge of ancient stone and freshwater sky—reminding us that place is not just where we stand, but how we witness.

“Where” isn’t just geography—it’s also geology, weather, and story.

The Keweenaw Peninsula isn’t just scenic—it’s shaped by ancient lava flows, bordered by cold freshwater seas, and home to boreal wildlife that feels almost more Alaskan than Midwestern. Places like Brockway Mountain, Hunter’s Point, or Hungarian Falls look different depending on the season, the time of day, or even the week’s weather. One trail might be vibrant with choruses of songbirds in June and then silent under snow by November.

If you want to capture more than snapshots, start with place-based research. Learn when the trilliums bloom. Pay attention to when the northern lights are most likely. Talk to locals about seasonal road conditions or where the herons are nesting. The more you understand this place, the more it will show you.


Photographer sitting on a rocky outcrop overlooking a fog-covered autumn forest in the Keweenaw Peninsula, next to a camera on a tripod.

With the tripod set and the camera ready, the artist watches fog rise across a Bare Bluff, waiting for the right moment when light and landscape align.

2. Patience: Wait for the Moment

The Keweenaw rewards those who are willing to slow down.

This is not a “shoot-and-scoot” kind of place. The best images come when you stop trying to chase a shot and, instead, let it come to you. Whether I’m photographing the aurora over Lake Superior or waiting for a pileated woodpecker to reappear, I’ve learned that stillness often gets the best results.

Bring something to sit-on with you. Brew a thermos of tea. Let the forest settle around you. This kind of presence often translates into better images—ones that feel quieter, more intimate, more authentic.


3. Preparation: Pack Like a Local

It’s not the prettiest checklist—but it’s saved my butt more than once.

The Keweenaw doesn’t mess around. You can start your day in a comfortable golden light and end it completely soaked, frozen, or mosquito-bitten. That’s why preparation is the difference between a good shoot and one that ends early with frostbitten fingers or fogged lenses. Expect the unexpected.

My must-pack list includes:

  • Red-light headlamp or flashlight (for night hikes and night sky shoots)

  • Extra gloves, socks, and a base layer—always…every season of the year.

  • Garbage bags for sudden gear rainproofing

  • Local maps (offline apps like OnX Backcountry or Gaia GPS help too)

  • Hot drinks and snacks (I swear by ginger tea and love smoked whitefish from Peterson’s) [consider this a bonus “P” of Keweenaw photography]

  • Insect repellent (Because DEET can damage plastics (i.e., my camera) I prefer to use repellents that use Picaridin, instead, for mosquito and flies. For ticks, I use permethrin-based repellents)

And if you're planning night sky photography? Don't forget to include a way to heat your lens ( I use disposable hand warmers attached to my lens body with rubber bands) and some backup batteries. Cool summer nights cause condensation to form on a camera lens and anytime it’s cold, power is eaten like you wouldn’t believe.


4. Perspective: Tell a Bigger Story

A great Keweenaw photo doesn’t just show what you saw—it shares what you felt.

My clients (and readers like you) aren’t just after pretty pictures. They’re looking for a connection—to place, to nature, to memory. Whether you’re photographing a misty morning on the Estivant Pines Trail or the red glow of the aurora over Copper Harbor, ask yourself: What does this mean to me?

That’s your story.

Sometimes that means photographing wildlife behavior, sometimes it’s wide shots that show scale and weather, and sometimes it’s personal—your boots in frame, your breath in the air, your own presence in the landscape. Perspective is emotional as much as compositional.


5. Practice: Make Peace With the Misses

A foggy morning view of the historic Quincy Smelting Works gave me inspiration to reflect upon the regions history.

Some of your best days out here won’t result in a photo at all (or maybe you get a photo you didn’t expect).

The Keweenaw is truly humbling. You’ll drive 90 minutes or more to photograph the northern lights—and end up in a fog bank. You’ll see a bear when you least expect it, raise your camera—and watch it vanish. That’s simply part of the adventure.

Every time you go out, though—even when the shot doesn’t come—you’re learning the light. You’re building your instincts. And maybe most importantly, you’re showing up for the place.

That kind of practice doesn’t just create better photographers, but more connected ones—photographers who, through their experiences, respect, love, and care about where they are.


Ready to Explore With Me?

If these five “P”s resonate with you, I’d love to invite you on one of my small-group or one-on-one photography outings here in the Keweenaw. I focus on quiet locations, conservation storytelling, and helping people of all skill levels find their voice through nature photography.

📸 Explore Guided Photography Excursions »


Internal Links

  • Night Sky Explorer Kit (placeholder until live)

  • Aurora Photography Tips (placeholder until live)

  • FAQ: Photography Excursions (placeholder until live)

External Links


Final Thought

The Keweenaw isn’t flashy. It’s not trying to be the next Instagram darling. But it’s real. It’s powerful. And if you approach it with respect and curiosity, it will meet you with moments that stay with you long after the shutter clicks.

Ready to photograph it like you mean it?

Why Use a Red Flashlight for Night Photography and Stargazing?

Ever wonder why I ask you to bring a red flashlight or headlamp on night hikes or photography outings? It’s not just a quirky habit—it’s rooted in science. If you’re heading out under dark skies in the Keweenaw, understanding how light affects your eyes (and others around you) will help you see more stars and capture better images.


Why Do I Recommend Red Flashlights for Night Activities?

Red flashlights help preserve your natural night vision. Unlike white or blue light, red light has minimal impact on the chemical processes your eyes rely on to adjust to darkness. That means you’ll be able to see stars more clearly, spot faint auroras sooner, and move around confidently—without blinding yourself or the people around you.

Let’s explore why that matters and how it works.


How Human Night Vision Actually Works

A diagram representing the layers of the retina of the human eye.

A diagram representing the retinal layers, including the location of cone cells and rod cells (which contain the rhodopsin, a protein critical for night vision). Image obtained from Anatomy & Physiology, Connexions Web site and is is licensed under the Creative Commons Attribution 3.0 Unported)

1. Your Eyes Are Built for Both Day and Night

The human eye contains two main types of light-sensitive cells:

  • Cones (centered in the retina) help us see color and detail in bright light

  • Rods (concentrated on the periphery) let us see in low-light gray-scale and detect motion

This dual system evolved to help humans survive both day and night—scanning for subtle movement in the shadows or admiring the color of ripe berries under daylight.

2. Rod Cells Rely on a Special Pigment

Rod cells contain rhodopsin, a light-sensitive pigment that lets us see in the dark. It’s so sensitive, it can respond to a single photon of light. But here’s the catch:

  • Bright light (especially white or blue) breaks down rhodopsin

  • It takes 20–40 minutes to fully regenerate

  • Even a few seconds of bright light can reset your eyes' ability to see in the dark

3. Red Light Doesn’t Activate Rhodopsin

Deep red wavelengths don’t affect rhodopsin the same way white, green, or blue light does. So when you use a dim red light:

  • Your rod cells stay adapted to darkness

  • You keep your night vision intact

  • You’re less likely to disturb others nearby

That’s why astronomers, wildlife guides, and ethical night photographers all swear by red light.


Red Flashlight Etiquette: How to Be a Good Stargazing Neighbor

If you’ve ever had your night vision wrecked by a sudden phone screen or headlamp beam, you know how frustrating it is. The following practices ensure a better experience for everyone on the trail, on the ridge, or beside the lake:

✅ Flashlight Best Practices for Dark Sky Activities

  • Use red light only: White lights, even briefly, destroy night vision

  • Don’t point your light at others: Especially if it’s on your headlamp—be mindful when turning

  • Dim your screen brightness: Cover your phone or camera LCD with your hand or dim screen mode

  • Use hand-shielded lighting: Let just enough red light leak between your fingers when adjusting gear

  • Cover unnecessary indicators: Use gaffer tape to mask camera record lights or LED glows

  • Avoid casting red light toward photographers: Even red light can ruin a long exposure. The unnatural red color cast is nearly impossible to remove in post-processing, especially during aurora or Milky Way photography. If you see someone with a camera on a tripod, move behind them or turn your light off briefly while passing.

🎯 Want more tips? See my Night Sky Photography 101 guide (placeholder for when the page goes live)


How to Make Your Own Red Flashlight

No red flashlight? No problem. Here are a few simple DIY options:

  1. Red cellophane + rubber band: Wrap it around your flashlight lens

  2. Red zip-top bag: Works in a pinch

  3. Red marker or nail polish: Color the lens of an old flashlight

Buy a headlamp with red mode: Recommended for convenience and safety


Keweenaw-Specific Considerations

A photographer, illuminated by red-colored light, takes a photo of the Milky Way core, during the 2023 Perseid meteor shower.

Me, taking a shot of the Milky Way during the 2023 Perseid Meteor Shower. (Picture taken by Chris Guibert - Chris Guibert Photography)

In Michigan’s Keweenaw Peninsula, true darkness still exists. Whether you're photographing from Esrey Park, camping near High Rock Bay, or watching for auroras anywhere along Lake Superior’s shore, these landscapes reward those who protect their eyes—and respect their fellow explorers.

Even the full moon here can cast shadows, and a well-adapted eye is your best tool for navigating roots, snowdrifts, or shoreline rocks.


Final Word: Night Vision Is Worth Protecting

There’s a reason why seasoned astronomers and aurora chasers go red. Once you’ve spent a few minutes adjusting to the dark—and start to see subtle greens, purples, or the sweep of the Milky Way—you’ll understand why it matters.

“Watching the Perseids after 20 minutes of quiet waiting was one of the most peaceful and thrilling experiences of my life.” — Guest, 2023 Perseid Meteor Shower Viewing Party

So please: bring a red light. Use it wisely. And help keep the dark sky experience alive for everyone.


Internal Links

  • Night Sky Photography 101 (placeholder for when the page goes live)

  • How to Prepare a Night Sky Explorer Kit (placeholder for when the page goes live)

  • Five Ps of Keweenaw Photography (placeholder for when the page goes live)

  • Photography Excursion FAQs (placeholder for when the page goes live)

External Authority Sources


Get Ready for the Dark

🔦 Download my Red Flashlight Guide (PDF)
📸Book a Guided Night Photography Outing »